Accessories
Hardware
Please refer to the product page of Cubasis for the up to date list of compatible hardware.
Routing
Additional information on Inter-App Audio, Audiobus and CoreMIDI routing can be found here.

Inter-App Audio
Inter-App Audio is a universal routing system for iOS, allowing you to route audio, MIDI and effects between Cubasis (host) and compatible node apps in realtime. There are three basic types of nodes:
- Effects can be set as insert or send effects.
- Instruments are assigned to a MIDI track and automatically receive MIDI from Cubasis.
- Generators are inputs for audio tracks.
To use an Effect node in Cubasis, follow these steps:
- Select the track you wish to add an effect to.
- Open the track Inspector and select the the Insert or Send effects panel.
- Tap one of the slots and choose Inter-App. A list of available effect apps will appear. Select one to assign it.
- Tapping the app icon in the effect slot will take you to the app. From here you will be able to customize the effect and control Cubasis remotely.
To use an Instrument app, follow these steps:
- Tap the instrument icon on your desired MIDI track.
- Open the instrument browser to the left and expand the category Inter-App. Select an instrument of your choice.
- Once the instrument app is connected to Cubasis, the icon lights up and you are able to play the instrument on your Cubasis keyboard like any other. Tapping the icon will take you to the app directly for customization of the sound. Note: Instrument node apps cannot send MIDI information to Cubasis via Inter-App. To record MIDI from another app, use CoreMIDI instead.
To use Audio input, do the following:
- Select an audio track.
- Open the Inspector and open the Routing panel.
- Tap Input source (Mono by default) choose Inter-App. A list of available apps will appear.
- After assigning an app, its icon and name will appear in the input slot. Tap the icon to switch to the app.
- From here you can remotely record the generator's audio into Cubasis. Some generator apps can also act as instruments; however, they may only be connected once. Note: Monitoring must be enabled on Inter-App audio tracks. Background Audio must be enabled for both apps.
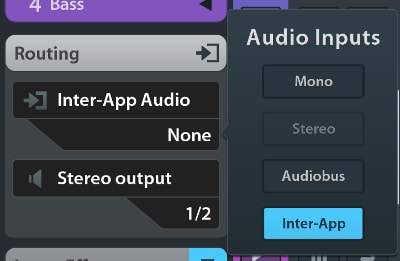
Limitations of Inter-App Audio routing:
- The maximum number of Inter-App Audio connections depends on the device. Connections are severed without notice by iOS in low memory situations.
- Connection sometimes fails if the node app is already running due to a bug in iOS. As a rule of thumb, quit all audio apps, launch Cubasis and then connect Inter-App Audio nodes. Don't launch node apps manually before launching Cubasis.
- Connected node apps don't always appear in the iOS multitask mode when you double tap the home button. This is an iOS issue which can lead to connections failing. As a workaround, launch the node app manually from the home screen, then doube tap the home button and swipe up to quit it.
- Cubasis can only interact with node apps via Inter-App Audio; it cannot be selected as an input in another host app.
- Inter-App Audio routing performs best with a sample rate of 44.1 kHz. Other values might lead to crackling noise.
- Even if an app is listed multiple times, only a single connection can be made to it at a time.
Audio Units
Third party apps with Audio Unit functionality can act as instrument or effect plugins / addons that integrate directly into the Cubasis workflow. As with StudioEQ or a Microsonic instrument for instance you can find them in the instrument browser and the effects menu under the Audio Units category.
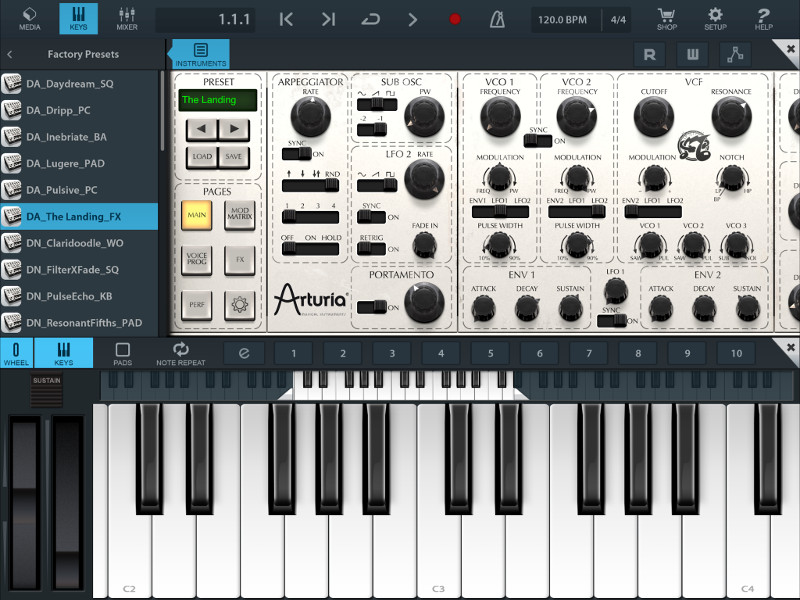
- Instrument: Open the Instrument Browser by either tapping the instrument icon on your MIDI track or in the Inspector. Find the Audio Units category (only visible when you have at least one Audio Unit instrument installed) and select an app.
- Effect: Open the track Inspector. In Insert Effects or Send Effects find the Audio Units category (only visible when you have at least one Audio Unit effect installed) and select an app.
Press the Presets button to the top left of the rack and a list of presets will open below. Tap a preset to load it and apply it to your audio unit effect. Instrument presets will be shown in the regular instrument browser.
 Save: Save a current setting as preset. Save a preset in order to be able to share, delete or rename it:
 Share: Share a preset via apps like Dropbox, Mail, iCloud, etc.
 Delete: Delete the selected preset.
- Rename: Select a preset and tap the e icon next to it to rename it.
Audio Unit automation
Like other instruments and effects, Audio Unit parameters can be automated. Press the green Read or red Write button in order to create or edit automation for the Audio Unit track. Find more information on automation here.
Note: Audio Unit automation requires iOS 10 or higher.Limitations of Audio Units
- The maximum number of Audio Units that can be loaded in a project depends on the device. Memory and CPU limits can be exceeded by loading only a few Audio Unit instruments, which can result in stuttering during playback, or errors when loading the plugin.
- Loading a complex Audio Unit plugin can take some time, even on newer devices, because for the device it’s like loading a complete app inside Cubasis.
- Sometimes, an Audio Unit plugin produces an error. Cubasis shows an error message in this case and recommends to reload the project or restart Cubasis. However, sometimes an Audio Unit plugin crashes, in which case Cubasis can also crash or get unresponsive. In this case, double click the home button, quit all audio apps and restart the device.
- Some Audio Unit plugins don’t support “state saving”, which means that the plugin’s parameters are reset to their default values every time the project is loaded.

 Audiobus
Audiobus is a signal transfer app, allowing you to route audio material as well as MIDI between Cubasis and other compatible apps in realtime.
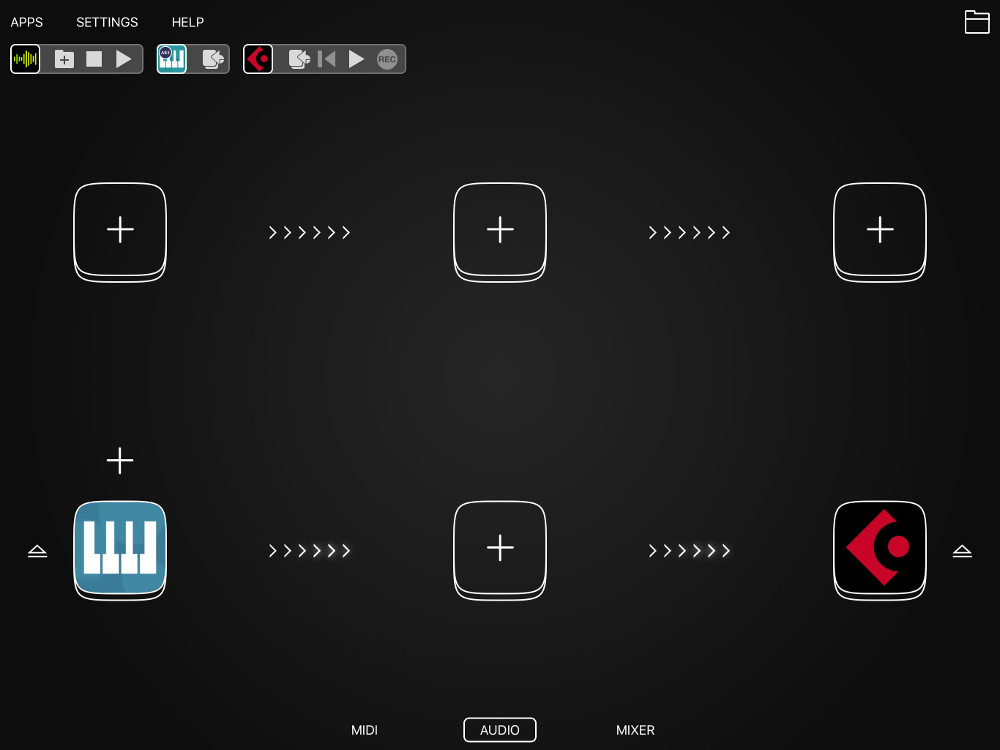
Using Audiobus, you can
- record / input audio and MIDI from other apps.
- output audio and MIDI from Cubasis to other apps.
- use additional effects processing apps when routing sound between Cubasis and other apps.
Having launched the Audiobus app, tap either the input or output port and choose Cubasis. You can add multiple apps to the input port.
- Using Cubasis as INPUT allows other apps to record Cubasis' stereo audio output.
- Set Cubasis as OUTPUT and other Audiobus apps can be selected as audio input source in the Cubasis track inspector. Audiobus tracks are always stereo. In the second field you can select an input app of the ones available.
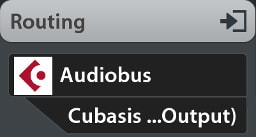
When Audiobus is active, it provides an overlay interface for easy inter-app control. When Cubasis is in the background, it offers the following means of remote control:
 Switch to Cubasis
 Rewind: Returns the playhead to the beginning of bar 1
 Play / Pause: Also stops recording
 Record: Starts playback and recording; pressing it again only stops recording but continues playback
Follow these steps to record audio from another app into Cubasis:
- Launch the Audiobus app
- Select one or more input apps (optionally an effects app) and launch them
- Set Cubasis as the output app and tap to run it
- Each Audiobus app has automatically created a corresponding track in Cubasis
- If you haven't loaded any music yet, turn on the metronome or load a few drum loops in order to stay in sync with your project while recording
- Switch to one of the input apps
- In the Audiobus overlay interface, tap the Cubasis icon, then tap the record button to start recording
- Press the play button to stop recording and playback
- Switching back to Cubasis, you can take a look at your recording, adjust the playhead position and modify your song before continuing recording.
To route MIDI signals via Audiobus, select the MIDI page after launching the Audiobus app, then follow the same instructions as above.
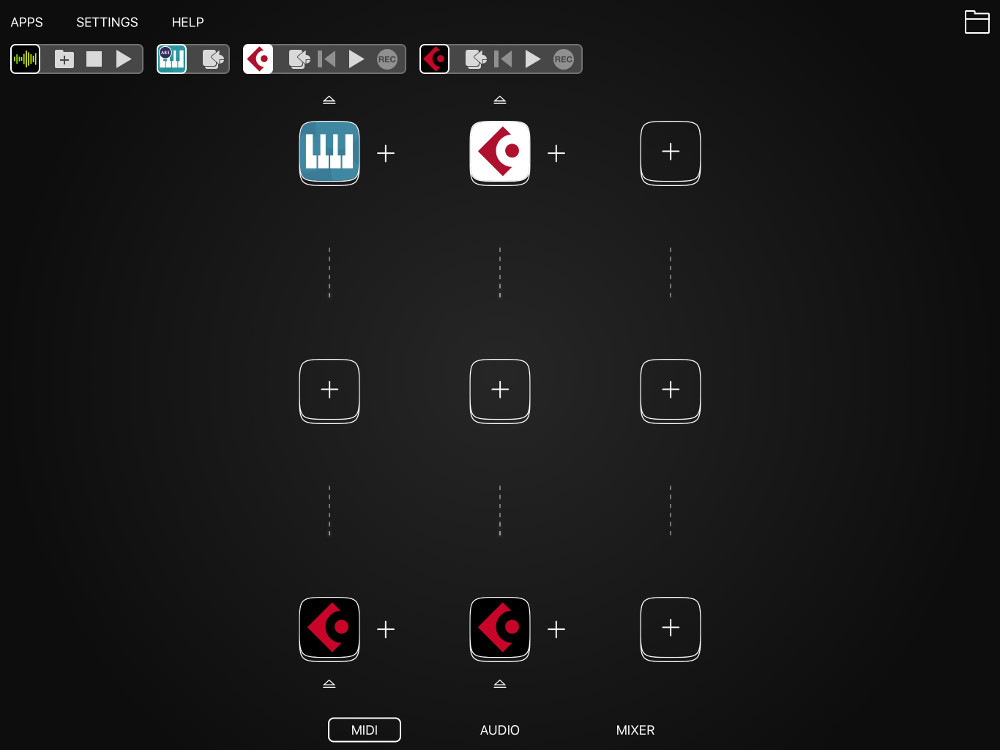
MIDI Hardware
Audiobus can potentially handle all MIDI routing, including MIDI hardware. Connected MIDI hardware will be listed alongside Audiobus compatible apps.
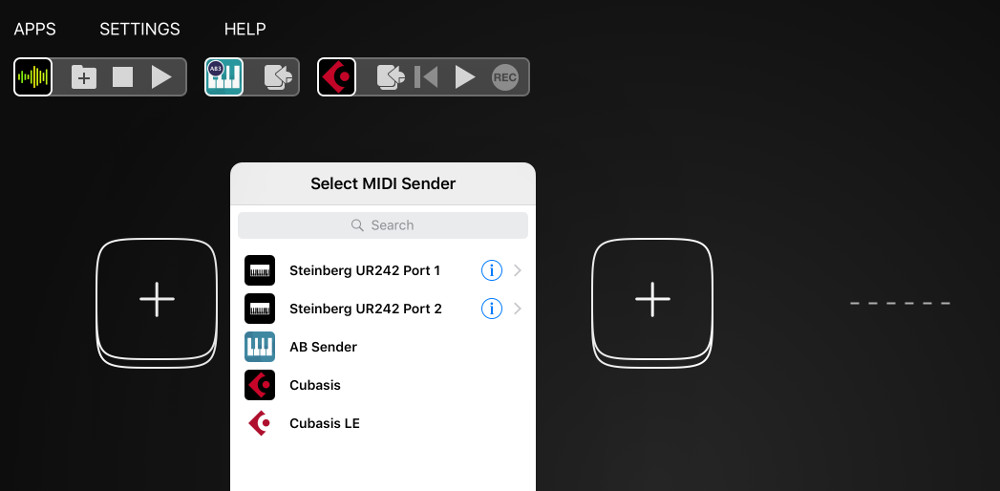
Note: While Audiobus MIDI can run parallel to CoreMIDI and Virtual MIDI, they cannot be used on the same track simultaneously.
For more information on the Audiobus product, please visit www.audiob.us.
MIDI via WiFi guide
Follow these steps to establish a WiFi MIDI connection with your computer:
- If your computer runs Windows, download and install rtpMIDI.
- Create a new local WiFi network (how to: Mac, PC) and connect your iPad to it.
- In Cubasis, choose a track, open the Inspector and set "Network Session" for the ports.
- On the Mac, launch Audio MIDI Setup via Spotlight and create a network session. Select your device and hit Connect. On Windows, use rtpMIDI.
- Run Cubase or any other desktop DAW and set up its MIDI properties to respond to MIDI input from your WiFi network session. Now you can trigger notes in your desktop DAW using your iPad.
